
Layering appropriately regulates temperature, wicks moisture, and protects you from the elements.
Your insulated jacket is the star player but needs support from baselayers and shells. We’ll break down: How insulation types and ratings work, Layering shells, midlayers, and baselayers, Strategies for aerobic activity vs belaying, Customizing for weather conditions and, Signs your system needs adjustment
With some informed layer pairing, your insulated outdoor research softshell jacket will prove endlessly versatile on the rocks and trails. Time to master the layers!
Understanding Insulated Jacket Fill and Ratings
The “insulation” refers to the filling inside the jacket. The main options include down and synthetic:
Downfalls use feathers for an excellent warmth-to-weight ratio. But down loses insulating power when wet.
Synthetic fills like PrimaLoft are warm even when wet. Not as lightweight as down.
Insulation weight is measured in fill power. Higher numbers equal more insulation and warmth.
Temperature ratings help choose the right jacket warmth for conditions. Your layering system should span:
- Active aerobic rating
- Colder belay rating
This means having a next-to-skin layer, insulating mid-layer, and a weatherproof shell to mix and match.
Baselayer: The Foundation for Moisture Wicking
This first-to-skin layer should use moisture-wicking fabric like merino wool or polyester. Snug fit moves sweat away for evaporation. Light colors show less grime over multi-day trips.
For legs, go with a thinner baselayer and possibly climbing pants over it. On the torso, use a long-sleeved wicking tee. Consider a thin wool zip neck for easy shedability.
Blend baselayer warmth with activity level. Thicker for belaying, thinner for sendering.
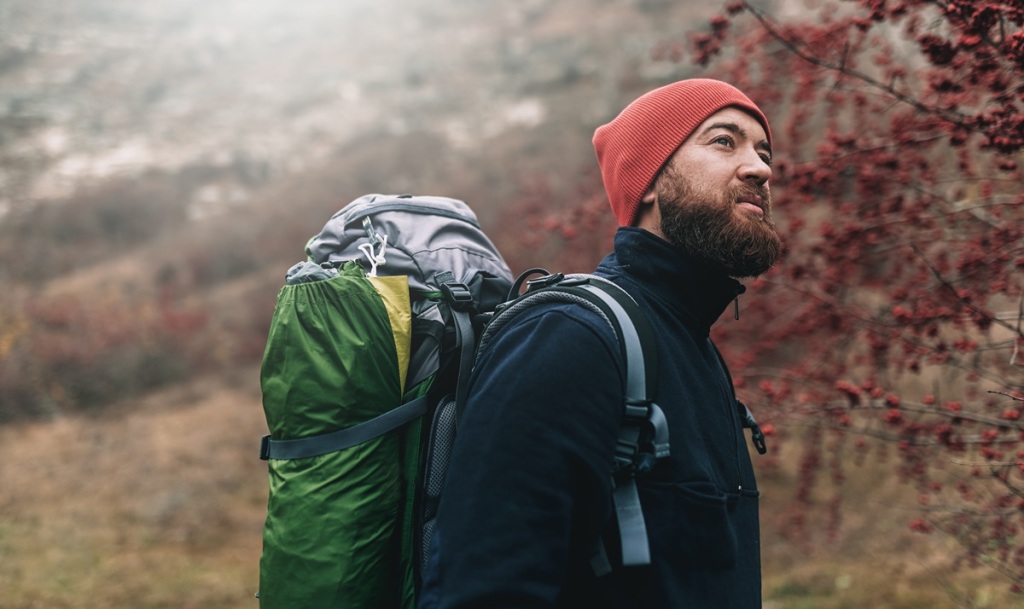
Insulated Jacket: Your Warmth Workhorse
When it comes time to throw on your trusted insulating jacket mid-layer at the crag or campsite, consider its intended use.
For more aerobic activity while climbing, opt for a lighter “active insulation” jacket with breathable side panels. This allows the venting of heat and sweat.
For belaying and tent time, choose a warmer insulated jacket or even a parka to cocoon in. Downfill offers lightweight warmth here. Synthetics if wetness is expected.
Adjust insulation weight by switching between different mid layers depending on the day’s weather and agenda.
Shell Jacket: Waterproofing and Wind Protection
The ideal outer shell protects from precipitation, wind, and abrasion without trapping excess heat. Look for waterproof-breathable fabrics like Gore-Tex paired with pit zips. For wet climates, choose a hardshell jacket. Softshells work for cold, dry areas.
Vary shell weight and breathability similar to insulating layers. Think lightweight windshirt for aerobic output, and burly hardshell for belaying. Adjust the pairings as weather shifts.
Adjust Your Layering System Moment to Moment
As activity level and conditions change, so should your layers. Some examples:
- Swap a thin baselayer for a thicker one before belaying
- Add a softshell for wind protection at the belay ledge
- Carry an insulating jacket for the hike, then remove while climbing
- Throw on the hardshell when rain hits
Stay attuned to body temperature and moisture buildup. Adjust promptly as needed to avoid getting too hot, cold, or soaked with sweat. Having a range of layers makes customizing easy.
Signs Your Layering Needs Adjustment
Here are signs to tweak your layering:
- Feeling overheated and sweaty
- Cold and shivering
- Wet inner layers from precipitation or sweat
- Restricted range of motion
Adapt your layering pieces and arrangements until you find the right balance of breathability, flexibility, and warmth. No more dashed summit bids or truncated climbing days!
Key Takeaways
The foundation of effective layering is having a range of pieces at different warmth and weather protection levels.
Mix and match baselayers, insulating mid layers, and shells suited to the day’s agenda and conditions.
Stay attuned to your body’s signals to tweak layers on the fly. With practice, you’ll be able to customize layers perfectly for any climbing scenario.

Leave a comment